
In this tutorial, we’ll make a pause menu for our game. I recently started making a new game in Unity named Our Rhythm.
as understood by name it’s a simple rhythm game. I probably prepare an article about this game, anyway, let’s look at the topic.
We’ll create a pause menu with exit, restart and finally continue elements. The player has to access these features while gaming.
About Project
Unfortunately, I cannot share a project source code on GitHub cause it’s not ready and needs some fixes (if it’s available you can find it in this account).
However, the project is not entirely related to the article, I just chose to go with a real-life project to facilitate learning (in short, you don’t need the main project).
Let’s Make a UI
We have 2 different things to do, first, we will design a simple UI and then we will code the viewability of that UI.
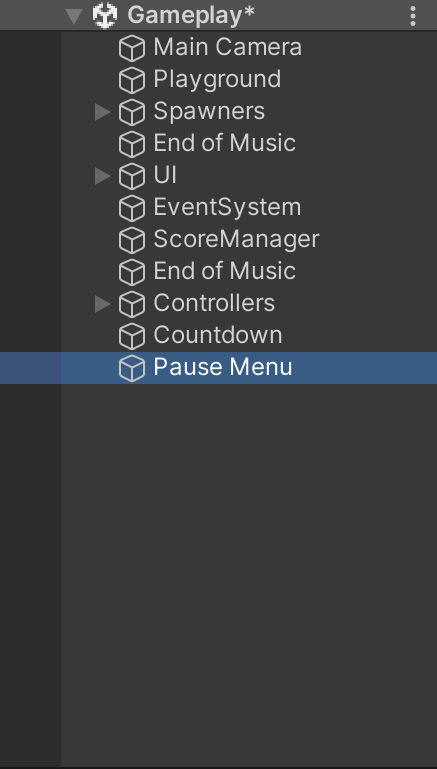
Firstly, we created a separate UI canvas for the pause menu. Next, let’s customize this UI pause menu.
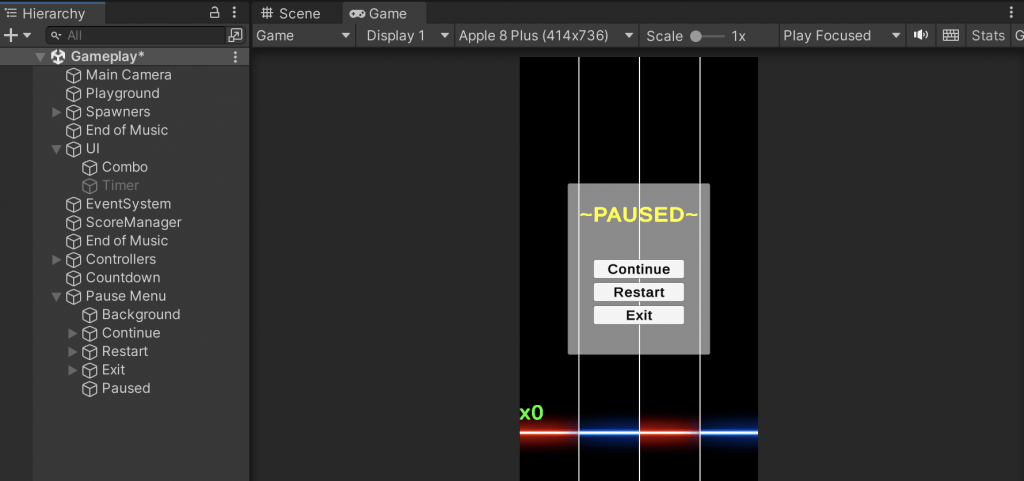
I added extra 5 elements, these are sequently: Background (half transparent), continue, restart and exit buttons for controlling the game, and finally a “paused” text.
I used just Unity in-built UI elements for this menu thus, you can access all of these in the Unity editor without any download.
Step 1: Pause Game
The first script we will code will be used to pause the game. When the pause menu is available in the scene we have to pause the game until the pause menu is unavailable again.
using System.Collections;
using System.Collections.Generic;
using UnityEngine;

public class PauseMenu : MonoBehaviour
{
    [SerializeField]
    private GameObject pauseMenu;
    [SerializeField]
    private bool menuAvailable = true;

    // Update is called once per frame
    void Update()
    {
        if(Input.GetKeyDown(KeyCode.Escape)){
            pauseMenu.SetActive(menuAvailable);
            menuAvailable = !menuAvailable;
        }

        if(!menuAvailable){
            Time.timeScale = 0;
        }else{
            Time.timeScale = 1;
        }
    }
}
With the help of this code, we can pause the game by pressing the escape button and continue the game in the same way.
How this script works – Detailed
we have 2 variables these are pauseMenu (GameObject) and menuAvailable (boolean). We are using the pause Menu to setting visibility from another object.
menuAvaible uses to check if the menu is active or inactive. With the help of menuAvaible, we can stop the game by pauseMenu visibility.
if(Input.GetKeyDown(KeyCode.Escape)){
  pauseMenu.SetActive(menuAvailable);
  menuAvailable = !menuAvailable;
}
The line of code here allows us to activate the pause menu and reverse the value of menuAvaible variable when the escape key is pressed.
if(!menuAvailable){
   Time.timeScale = 0;
}else{
   Time.timeScale = 1;
}
Here, we set the timeScale variable using the menuAvailable. Thus, our game will paused when menuAvaible value was false.
Step 2: Restart, Exit and Continue
In this part, we’ll finish the restart, exit, and continue buttons. After this step, we’ll have a simple pause menu for the game.
using System.Collections;
using System.Collections.Generic;
using UnityEngine;
using UnityEngine.UI;
using UnityEngine.SceneManagement;

public class PauseMenu : MonoBehaviour
{
    [SerializeField]
    private GameObject pauseMenu;
    [SerializeField]
    private bool menuAvailable = true;
    [SerializeField]
    private Button continueButton,restartButton,exitButton;

    private void Start() {
        continueButton.onClick.AddListener(Continue);
        restartButton.onClick.AddListener(Restart);
        exitButton.onClick.AddListener(Exit);
    }

    // Update is called once per frame
    void Update()
    {
        if(Input.GetKeyDown(KeyCode.Escape)){
            pauseMenu.SetActive(menuAvailable);
            menuAvailable = !menuAvailable;
        }

        if(!menuAvailable){
            Time.timeScale = 0;
        }else{
            Time.timeScale = 1;
        }
    }

    void Continue(){
        pauseMenu.SetActive(menuAvailable);
        menuAvailable = !menuAvailable;
    }

    void Restart(){
        SceneManager.LoadScene("Gameplay");
    }

    void Exit(){
        Application.Quit();
    }
}
Testing The Menu
In this article, we added a simple pause menu to the game, now let’s test the menu in the game.
Congratulations, we have successfully added a new pause menu to our game. Project files will be shared on Github soon.